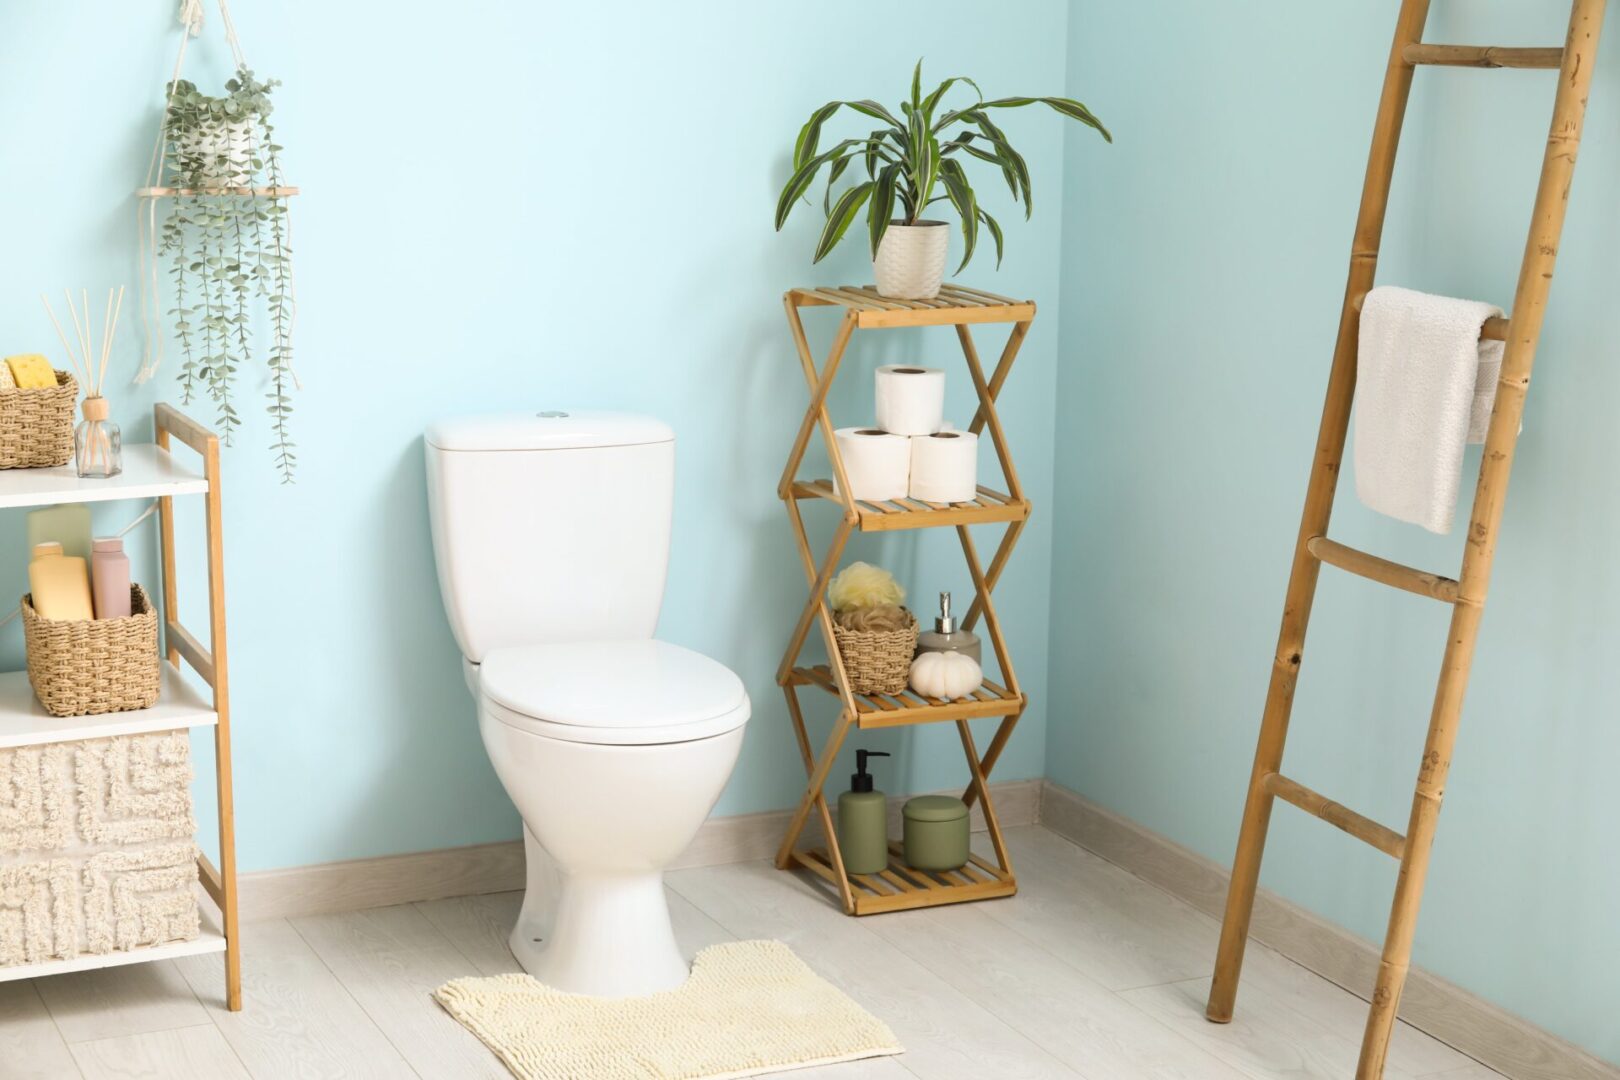
What is a Comfort Height Toilet?
What is a comfort height toilet and how does it differ from standard toilet height? It’s simple really, a comfort height toilet is designed to be slightly higher than a standard toilet, sometimes up...
View Article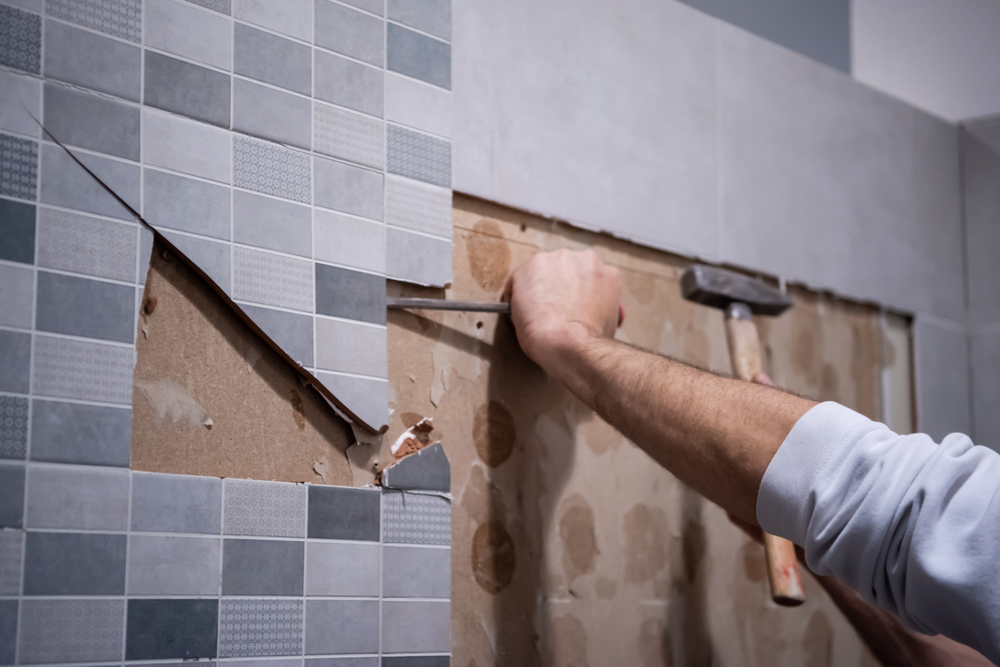
Renewing your bathroom – or even completely overhauling it – is an exciting time to make a mark on your home and start afresh.
In order to begin renovation, you first need to prepare by removing your current bathroom’s existing elements and fixtures. This might include your toilet, vanity, storage units – and even your bathroom tiles. But, the latter can be hard to accomplish with no prior knowledge or experience.
So, if you’re wondering how to remove bathroom tiles, we explain it all in our blog. Use our step-by-step guide to steer you through the process, and get your bathroom ready for renovation.
The first step in any home renovation project should always be safety. Without it, accidents can occur – even on DIY jobs deemed simpler than most. In fact, the National Safety Council Injury Facts revealed that in 2021, 306,891 people visited the hospital with injuries caused by DIY projects involving ceilings and walls. So, it’s important you take the appropriate measures.
When removing tiles, dust and debris could fly off the wall and cause damage to your eyes or skin. Ensure you wear eye protection such as goggles, as well as proper footwear to avoid injuries to your feet. Wear long-sleeve trousers and tops to prevent further injuries from occurring to your skin.
Next, you need to gather the appropriate set of tools. Without the correct equipment, you could harm the walls of your rooms. As well as safety equipment, you’ll need:
Don’t forget to cover up the area as well to prevent dust from gathering on items you plan on keeping. To avoid damage to your floor, you could also use flattened cardboard boxes to break the fall of any loose tiles. Remember to have a rubbish bag on hand to make cleaning up a little bit easier, especially if you plan on tiling your bathroom soon after.
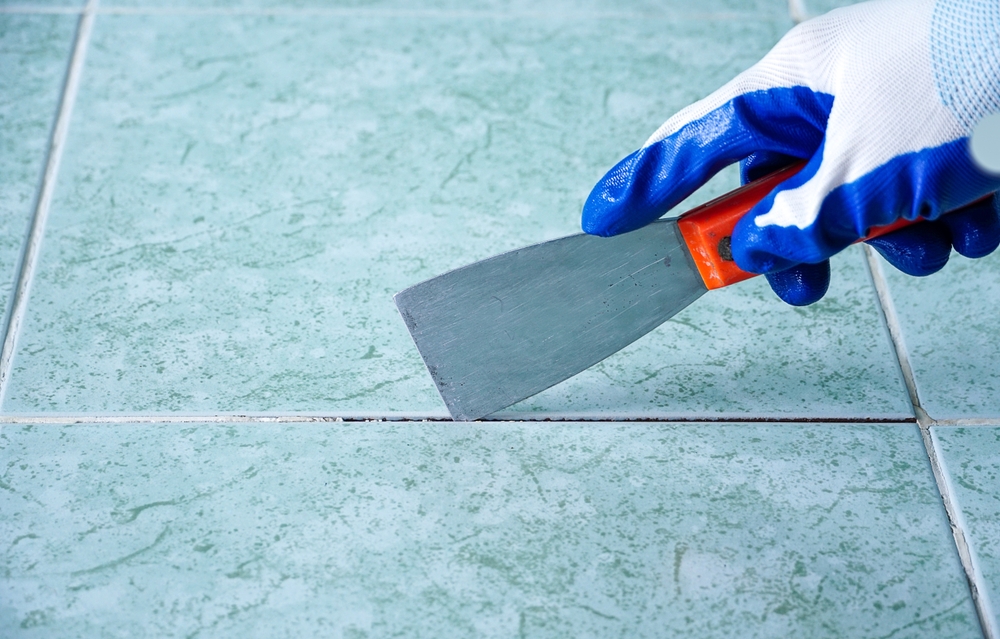
This step isn’t always necessary when it comes to tile removal, but it can make the process much smoother. If you don’t have uneven, chipped, or mouldy grout, you can probably skip this step to save time.
Begin by using a small chisel to scrape away the grout so you can easily control the movement. For more stubborn grout, you can use a hammer as well – or heat it with a hairdryer to make it softer when removing. But, avoid cutting your chisel too deep into the grout, as this can damage the drywall or plaster underneath.
Now it’s time to start removing the tiles. Begin at the top and work your way down. Use your chisel and hammer at the side of the tiles to remove them. If you already have a chipped tile – focus on removing this one first. It should come away easier and leave room for you to pry the other tiles.
When removing tiles on plasterboard walls, avoid pushing the chisel against the plasterboard as you lever the tiles. You could push a hole through the plasterboard and damage it. If you’re looking for inspiration on tiles to use in your bathroom, check out our gallery of completed projects.
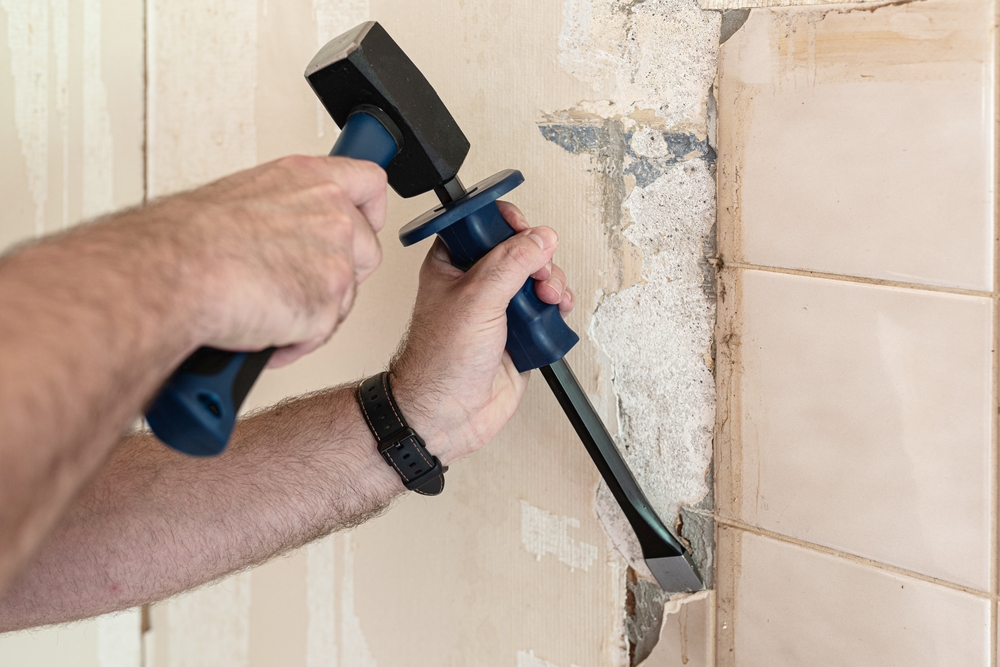
Once you’ve removed all the tiles on the wall, it’s time to remove the adhesive underneath. Use a putty knife to do so, by gently scraping any adhesive remains on the walls.
Next, apply spackle or filler to damaged parts of the wall – let it dry fully and then sand it smooth. Finally, dispose of the removed tiles. You will likely be able to recycle them but first check with your local council. If you have a large amount of tiles, consider using a skip.
With our expertise in bathroom design and installation, we can overhaul your Greater Manchester shower area – or just provide you with bathroom supplies to fit yourself if you prefer.
Looking for more inspiration or expert advice? Head to one of our bathroom showrooms in Rochdale and Bury.
How long it takes to remove bathroom tiles will depend on the size of your bathroom. But generally, this amounts to approximately 1-2 days.
It’s best to remove some of the more hidden-away tiles first – so you can gain an idea of how long the process will take. But, whilst you might want it over and done with as soon as possible, it’s important not to rush removal. This can lead to mistakes – such as damage to the plasterboard.
Yes, you need to replaster after removing tiles – even if they come off the wall easily.
If you don’t, the wall you will be left with will not be suitable for a coat of paint. If you have damage to the plasterboard behind your tiles, use a layer of bonding coat to fill in the gaps. Afterwards, add a new layer of finishing plaster to ensure it’s all the same smooth level as the walls around the tiled area.
What is a comfort height toilet and how does it differ from standard toilet height? It’s simple really, a comfort height toilet is designed to be slightly higher than a standard toilet, sometimes up...
View Article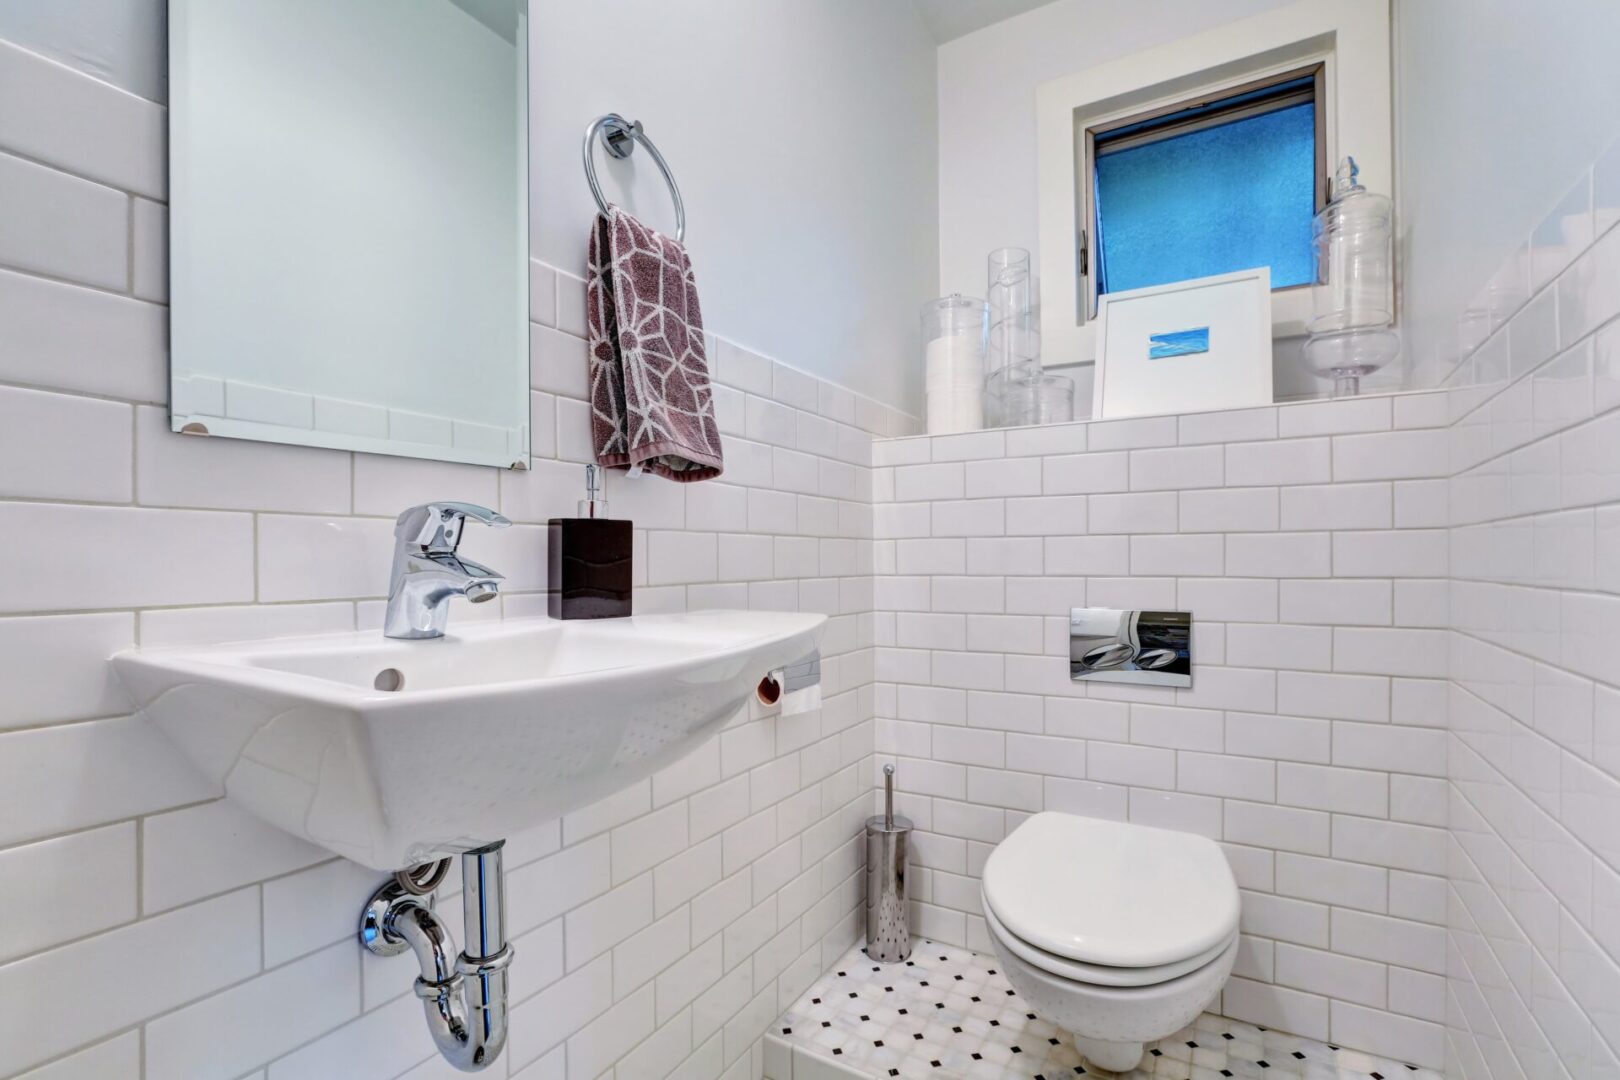
Half tiled bathroom ideas are almost limitless, simply due to how versatile the design choice is. It offers so many options in terms of different combinations of materials and colours. You almost have more...
View Article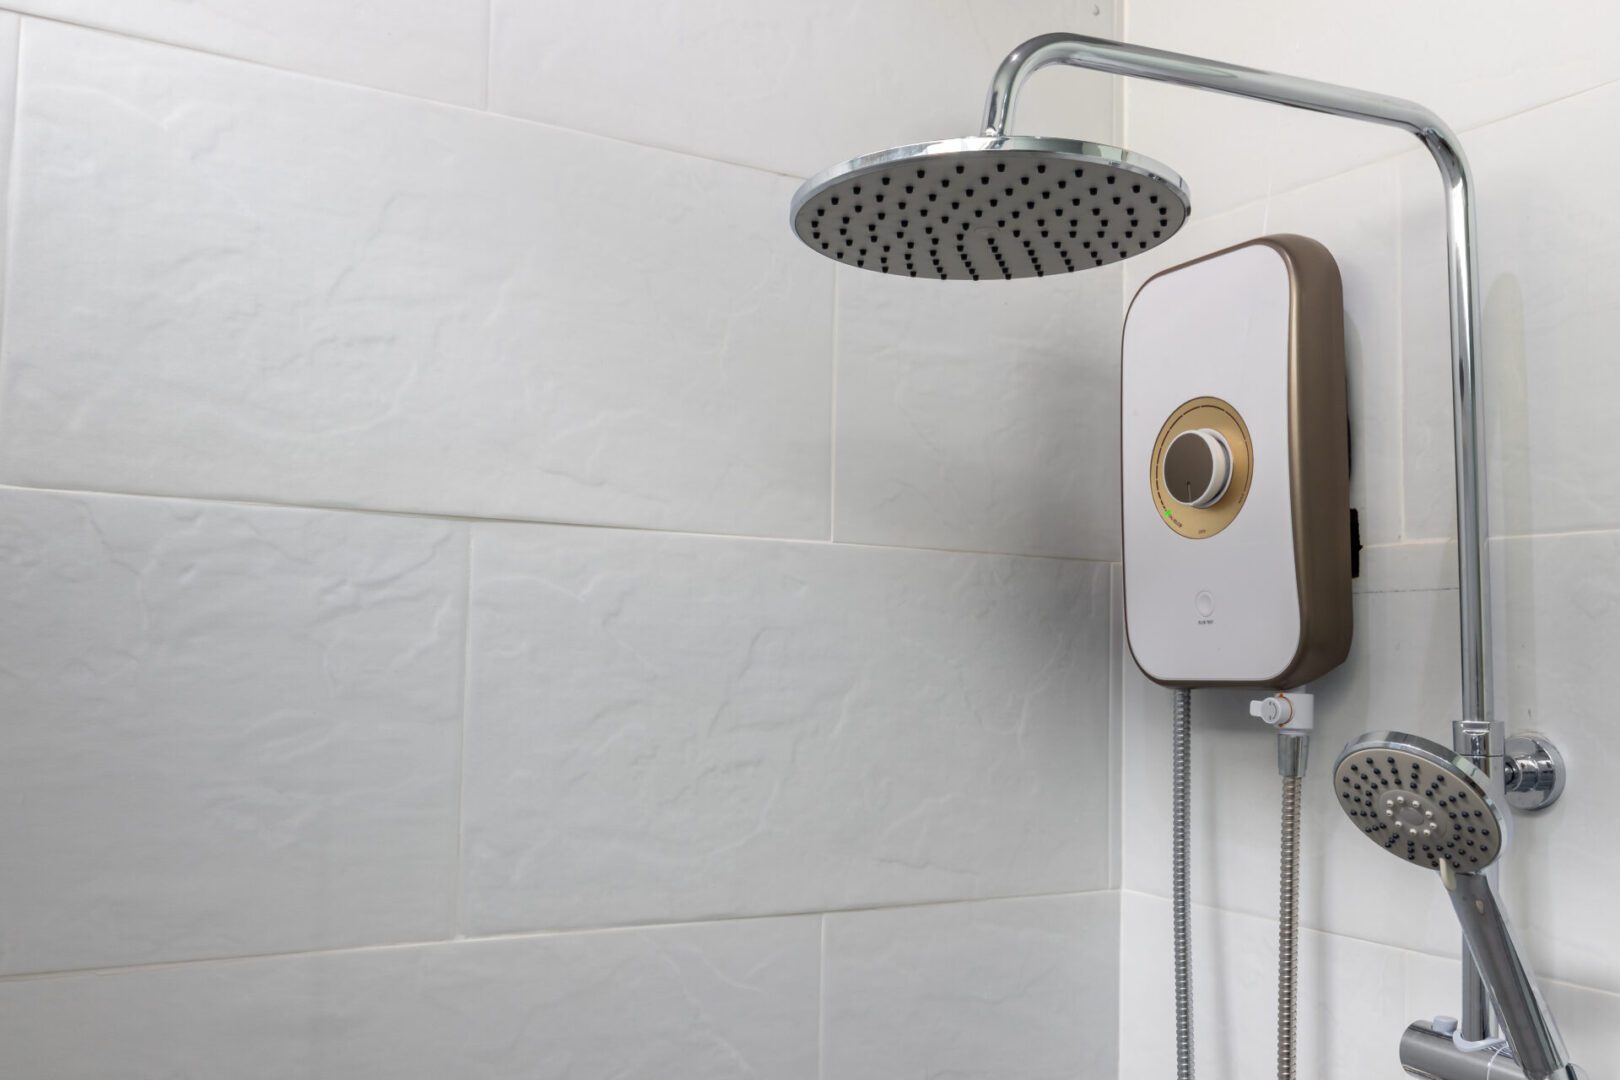
How to replace an electric shower will depend largely on the type and brand of shower you have. Some shower arrangements have different set-up requirements and the fittings used to put them together may...
View Article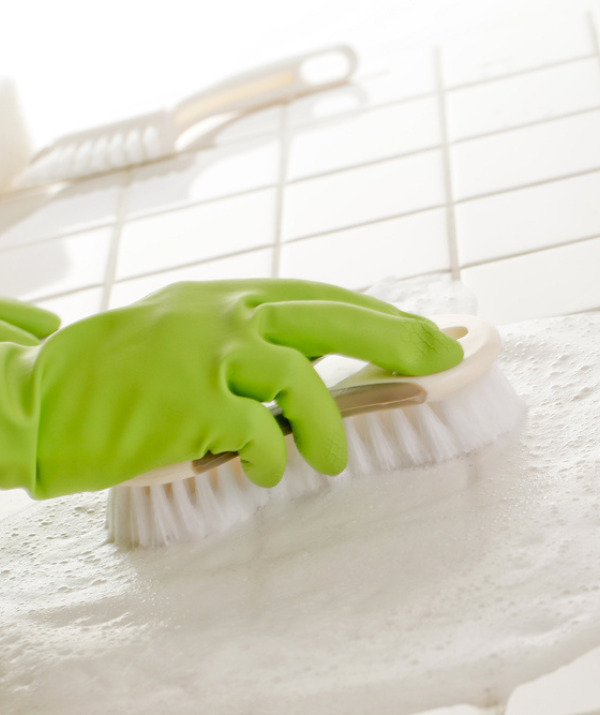
We all dream of our bathroom looking as fresh as the day we installed it. But over time, things happen, and your bathroom can collect dirt and grime that make it look less clean...
View Article