What is a Comfort Height Toilet?
What is a comfort height toilet and how does it differ from standard toilet height? It’s simple really, a comfort height toilet is designed to be slightly higher than a standard toilet, sometimes up...
View ArticleFrom time to time, features in your bathroom, such as your shower faucet, toilet lid, or bath tap will need changing. Not only is this a necessity as these functions have a lifespan of their own, but it also adds to your bathroom’s overall style. So if you’re looking to revamp your bathroom on a budget, small touches like these are affordable and go further than you might think.
But, if you’ve never replaced a bath tap before, you might not know where to start. To save you from any mishaps, we’ve outlined how you can replace your bath tap at home in six simple steps.
If you’re not a DIY-er or bathroom expert, you don’t need to fret. Changing a bath tap is much simpler than you might think. Take a look at our step-by-step guide below to find out how you can do it quickly and professionally.
The first step when changing a bath tap is to turn off the water supply. Your bath may have shut-off valves which you can switch off by turning them clockwise. If not, you might have to turn off your main water supply.
Once you’ve done this, turn your taps on as far as you can to release any remaining water in the system.
Next, you need to start disconnecting any nuts to release your old tap. To do so, you’ll find flexible tap hoses underneath the bath – these are connected by nuts to the existing taps.
Loosen the nuts with your adjustable wrench and remove them. Water will likely leak out, so prepare for it with an old towel or bucket underneath.
After you’ve disconnected the nuts, you can begin removing the bath tap. There’s likely a nut or bolt underneath the bath holding this in place.
Loosen this with your wrench and gently lift the bath tap out. Afterward, check the bath tap for any debris and clean it with a damp microfibre cloth to avoid scratching the material.
Now, it’s time to insert the new taps for your bath. To do so, lower the new tap into the empty bath tap spot.
Screw the existing nut back into place under the bath, tightening it firmly to ensure it’s secure. If you’re looking for a brand-new bath tap that doesn’t break the bank, check out the bath taps available for clearance on our website.
The penultimate step involves reattaching the flexible hoses to your new bath tap. Screw the nuts onto the threaded connections of the new taps and then reattach the flexible hoses to these (one end should be attached to your compression fitting).
To ensure a tighter seal, you can apply plumber’s (PFTE) tape to the threads of the new tap. Wrap the tape clockwise around the threads a few times, then screw the nut on firmly.
Tighten all your connections and turn on the water supply. Turn on your taps slowly and check for any leaks or drips of water. Tighten where necessary.
Check the hot and cold taps are working properly – if they are, you’re all done!
When replacing a bath tap, you should use several different tools. For example, you might need:
There are several things you should avoid when changing a bath tap. For example, you mustn’t forget to:
With our expertise in bathroom design and installation, we can overhaul your Greater Manchester shower area – or just provide you with bathroom supplies to fit yourself if you prefer.
Looking for more inspiration? Take a look at our current projects or head to one of our bathroom showrooms in Rochdale and Bury.
To measure your bath tap size, you need to consider two main measurements:
Use a ruler to measure your tap hole diameter. Begin at the widest part of the tap hole, and measure its diameter.
For those replacing pillar taps, measure the distance between both. Ensure you also consider the spout of your tap and how much distance it needs to reach your bath comfortably.
To stop a dripping tap, you might need to either:
Tightening the packing nut simply involves using an adjustable wrench. It’s located near the base of the tap handle – and should be tightened slightly in a clockwise direction. Avoid overtightening as this can damage the washer or tap.
To replace your tap’s washer, turn off the water supply and open the tap fully to release any remaining water pressure. Remove the handle of the tap (there should be a visible screw), then unscrew the packing nut. The washer sits underneath the packing nut – remove it and replace it with a new one of the same size and style.
What is a comfort height toilet and how does it differ from standard toilet height? It’s simple really, a comfort height toilet is designed to be slightly higher than a standard toilet, sometimes up...
View Article
Half tiled bathroom ideas are almost limitless, simply due to how versatile the design choice is. It offers so many options in terms of different combinations of materials and colours. You almost have more...
View Article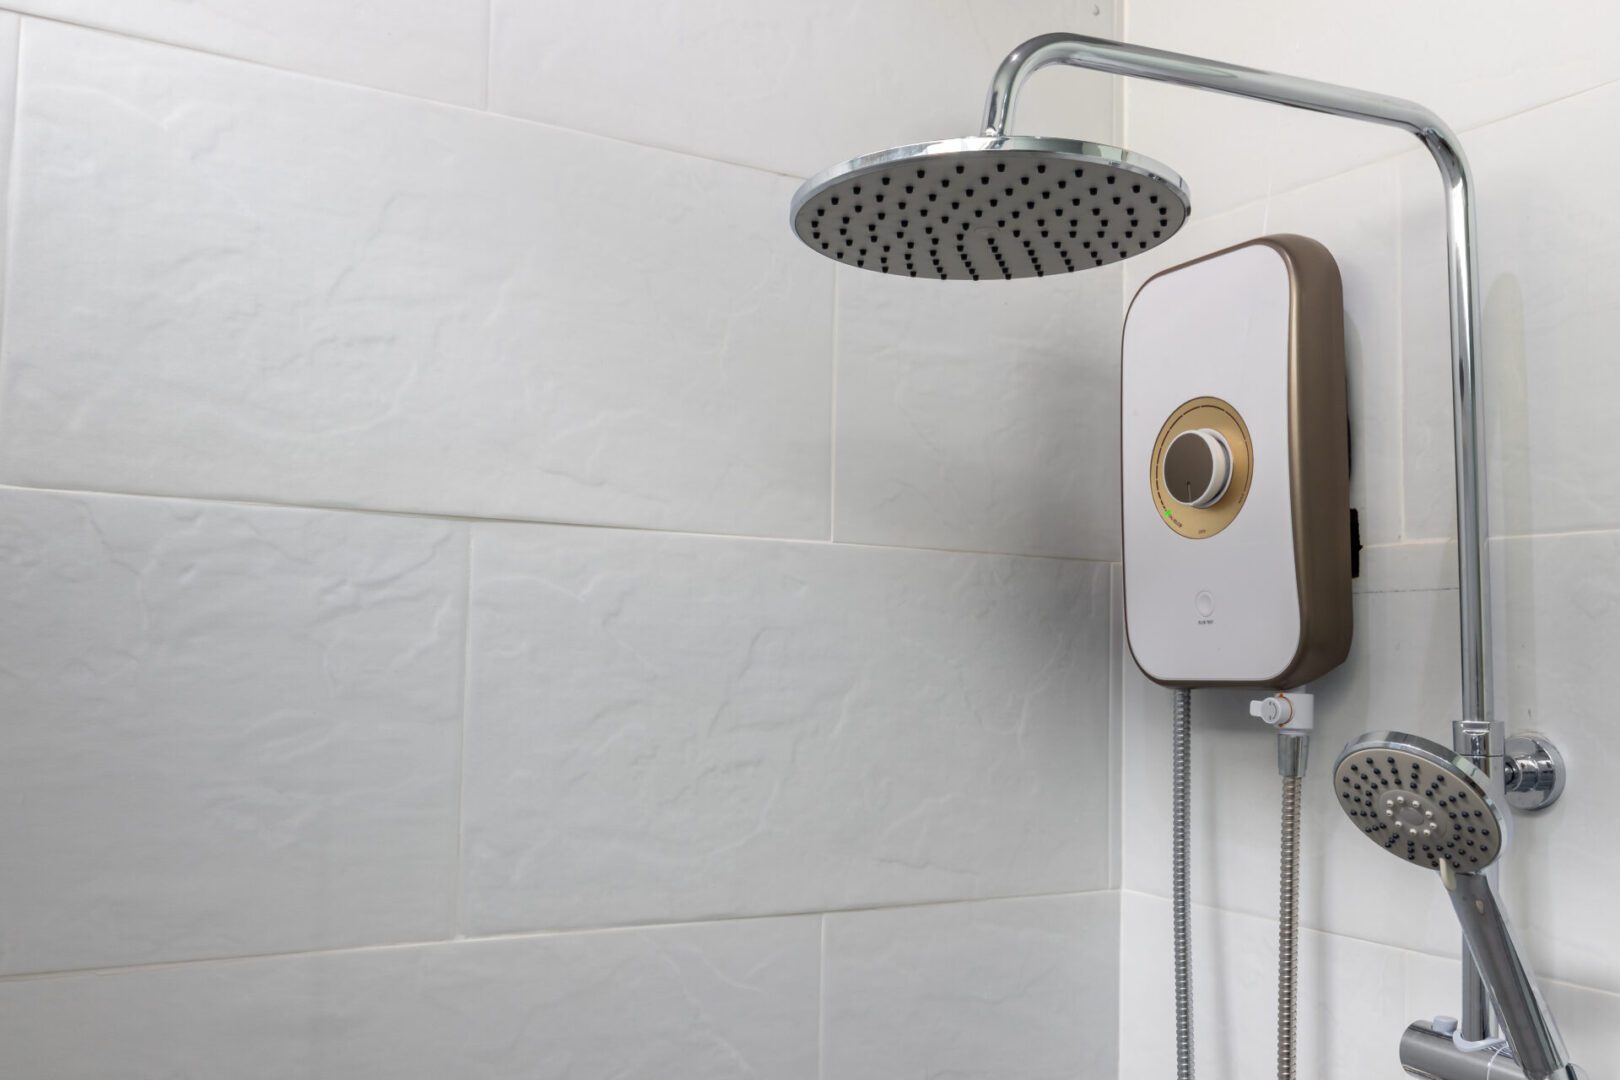
How to replace an electric shower will depend largely on the type and brand of shower you have. Some shower arrangements have different set-up requirements and the fittings used to put them together may...
View Article
We all dream of our bathroom looking as fresh as the day we installed it. But over time, things happen, and your bathroom can collect dirt and grime that make it look less clean...
View Article