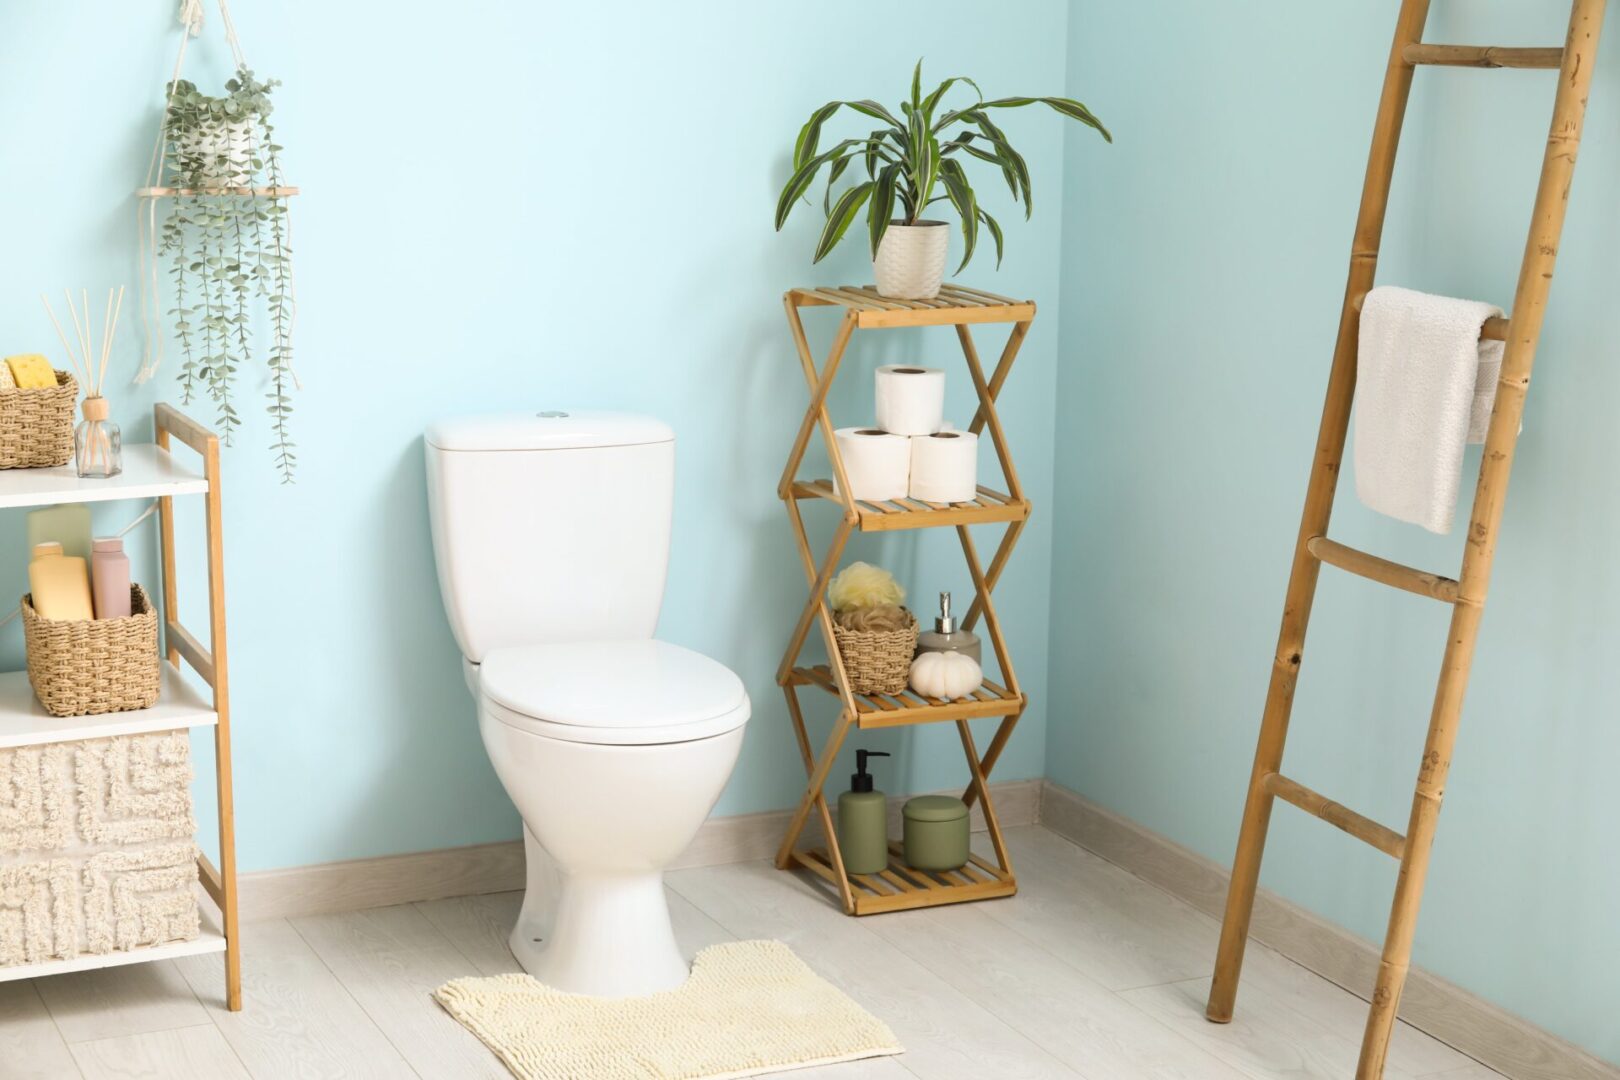
What is a Comfort Height Toilet?
What is a comfort height toilet and how does it differ from standard toilet height? It’s simple really, a comfort height toilet is designed to be slightly higher than a standard toilet, sometimes up...
View ArticleWhen refurbishing a bathroom, getting the tiling right is one of the most important parts of the process. Hiring a professional, like our expert team at Boro Bathrooms, to come and do the job for you would certainly make the process easier, but it won’t satisfy your inner DIYer.
Learning how to tile a bathroom sounds daunting, but as long as you properly prepare and practice before completing the job, learning to tile can be easy. The team at Boro Bathrooms have put together a simple guide to keep you on the right track.
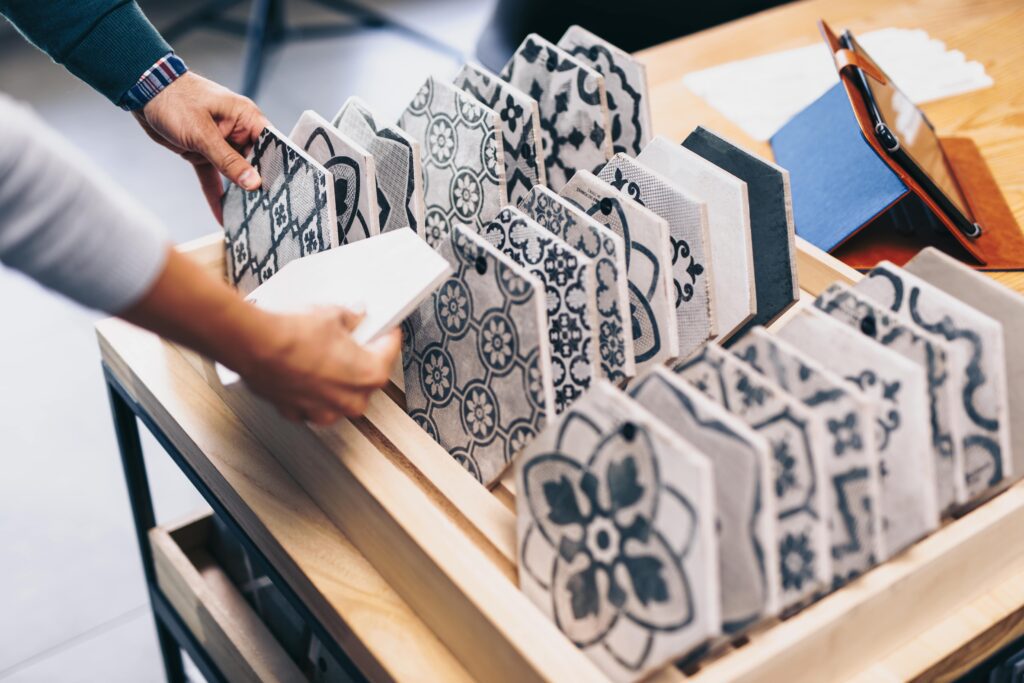
Choosing the right tiles is the most important part of the bathroom installation process. If your room is on the smaller side, you could choose smaller tiles to make sure your room doesn’t end up looking smaller.
Browse the range of tiles we stock at Boro Bathrooms by popping into one of our bathroom showrooms. You’ll find us in both Rochdale and Bury. Our collection comes in a wide range of sizes and materials, so we have something to suit every room size and style, including extra large tiles for a more dramatic look.
First things first, a bathroom wall needs to be properly prepared before you can tile on it. A smooth, waterproof wall is vital, otherwise you won’t get the professional results you desire. To prepare the wall underneath, start by removing old paint or wallpaper. After this, apply a TSP solution to remove any dirt and grease. Check out this video by essortment for even more tips and tricks.
After you’ve prepared the room, it’s time to install a backer board. You can purchase a backer board at most good DIY stores, or use the ‘supply-only’ service we offer at Boro Bathrooms.
When it’s time to start tiling, one of the cheapest and easiest ways to properly lay your tiles is to create your own gauge stick. Simply, the gauge stick is a length of wood you mark the size of your tiles along. You can then use the stick to space the tiles out correctly.
All you need to do is mark the end of a tile at the end of the stick. Keep doing this along the stick, being sure to leave room for a tile spacer between each tile. Repeat this process with the tile turned vertically for a gauge stick that measures the length and width of your tiles.
Now it’s time to map out your guidelines. Firstly, find the centre point of your wall. Using the gauge stick, draw the guidelines from the stick directly onto the wall, creating a map for your tiling. You will likely have to trim down larger tiles when it comes to the end of a wall.
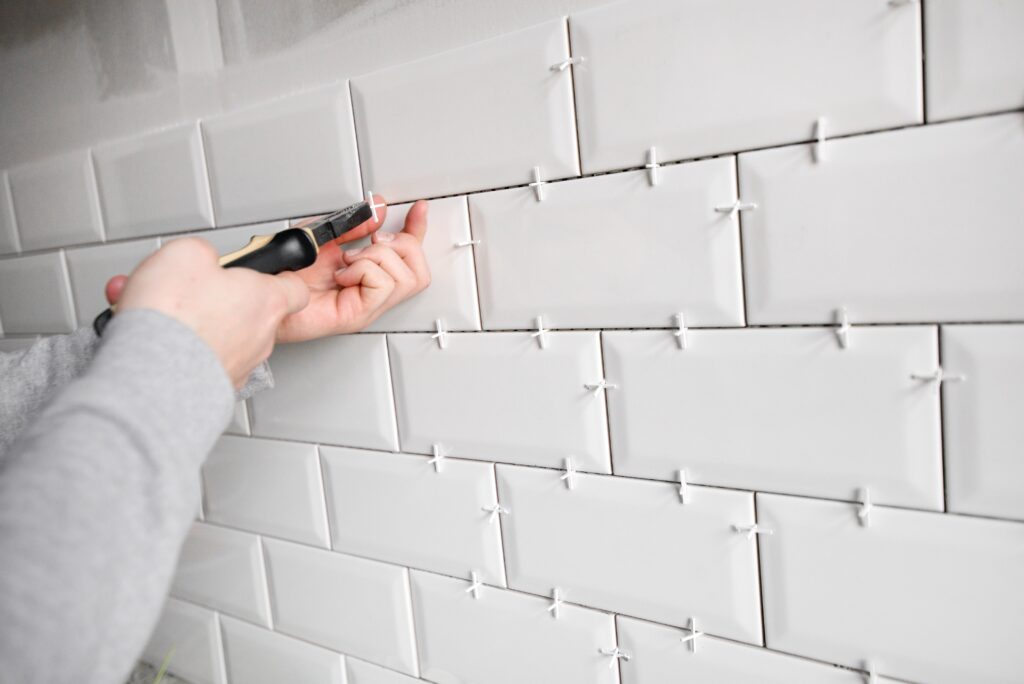
Always tile from the bottom of the wall to the top. Just place a tile to the wall and add a spacer in between, repeating the process all the way along the width of the wall. Then you can add your adhesive and begin the second row. Mastering the adhesive is one of the most important tiling steps. It is crucial that the adhesive is waterproof, so you don’t run into any issues with mould. Most come pre-mixed, so all you need to do is grab a notched trowel and spread the adhesive evenly across the area.
Once your tile adhesive has dried, it’s time to mix your grout. Mixing grout is very similar to mixing plaster. When the mixture becomes thick and creamy, it is ready to use. Use a trowel and sponge to apply the grout into the exposed gaps between each tile. If you overfill an area, simply wipe off the excess with a sponge. Leave the grout to settle for about 15 minutes, then wipe the area over with a sponge before repeating the process.
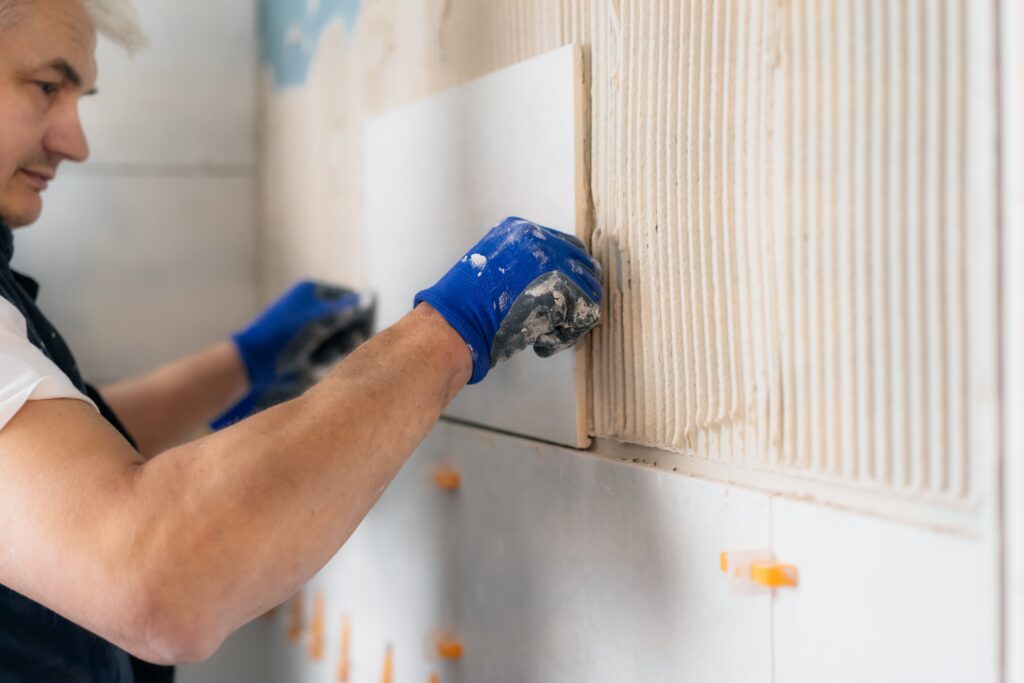
If the thought of tiling your bathroom yourself is overwhelming, that’s perfectly normal! DIY is not for everyone. If you would like a free, professional design consultation for your bathroom space, please don’t hesitate to contact our expert team or head down to one of our showrooms located in Bury and Rochdale. We are more than happy to take on your installation from start to finish.

What is a comfort height toilet and how does it differ from standard toilet height? It’s simple really, a comfort height toilet is designed to be slightly higher than a standard toilet, sometimes up...
View Article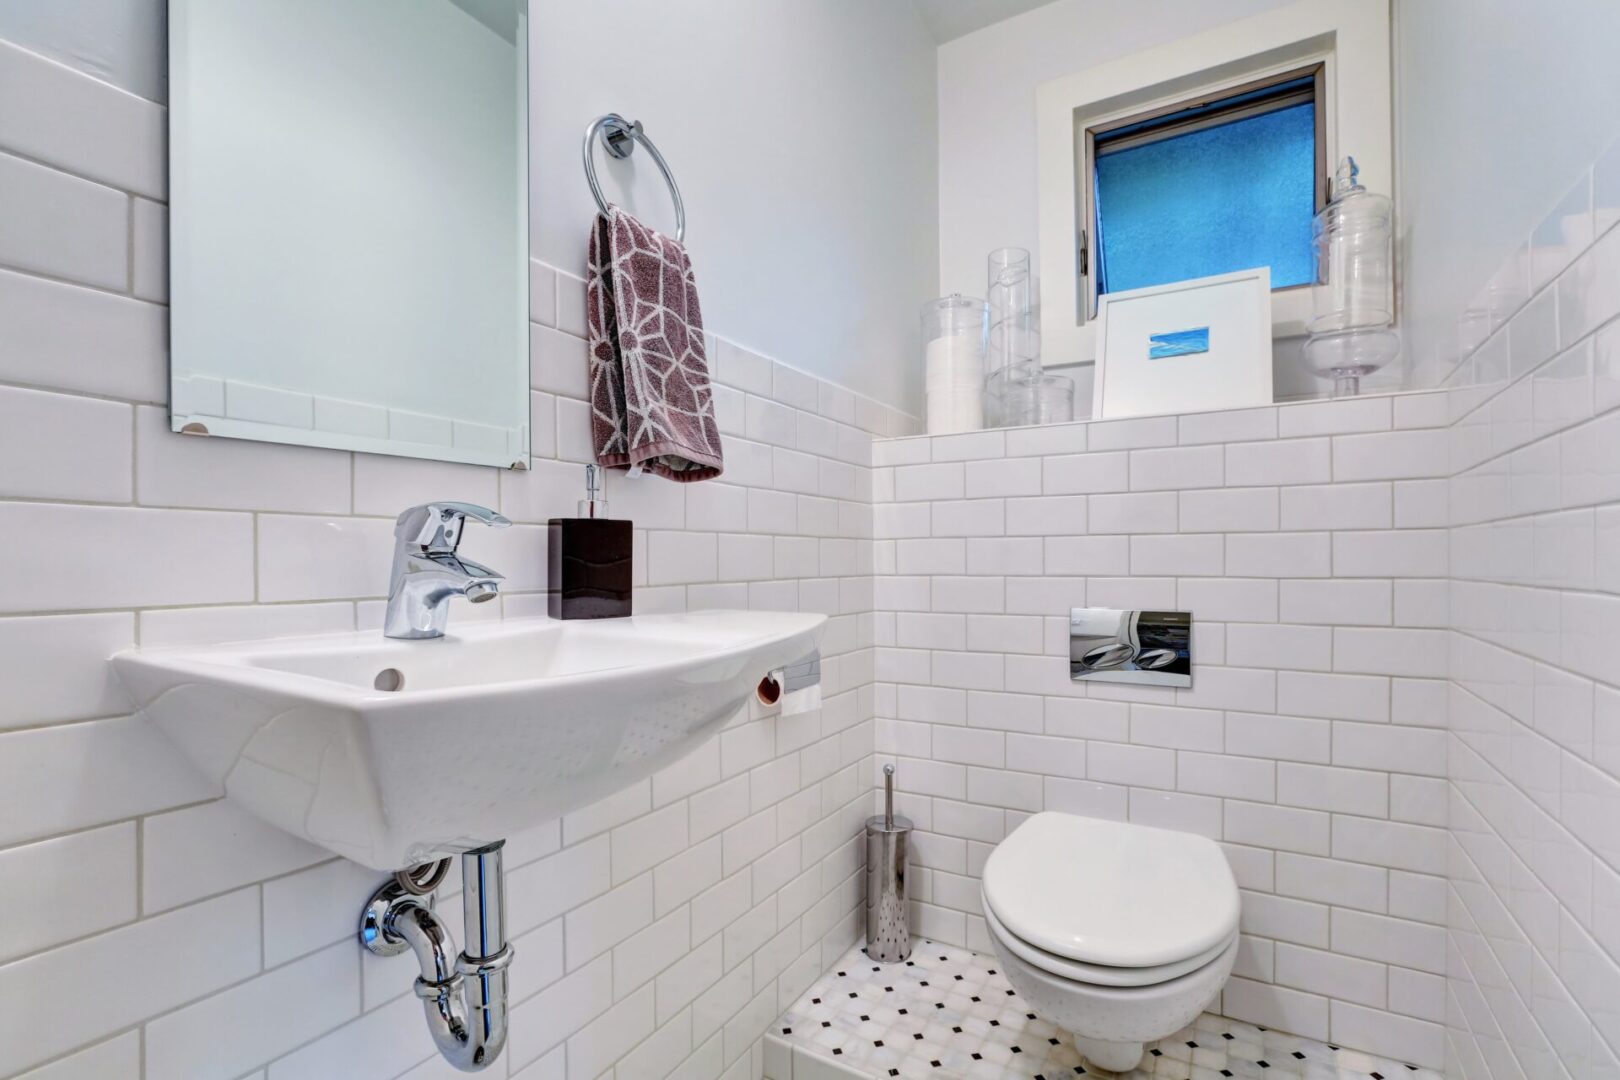
Half tiled bathroom ideas are almost limitless, simply due to how versatile the design choice is. It offers so many options in terms of different combinations of materials and colours. You almost have more...
View Article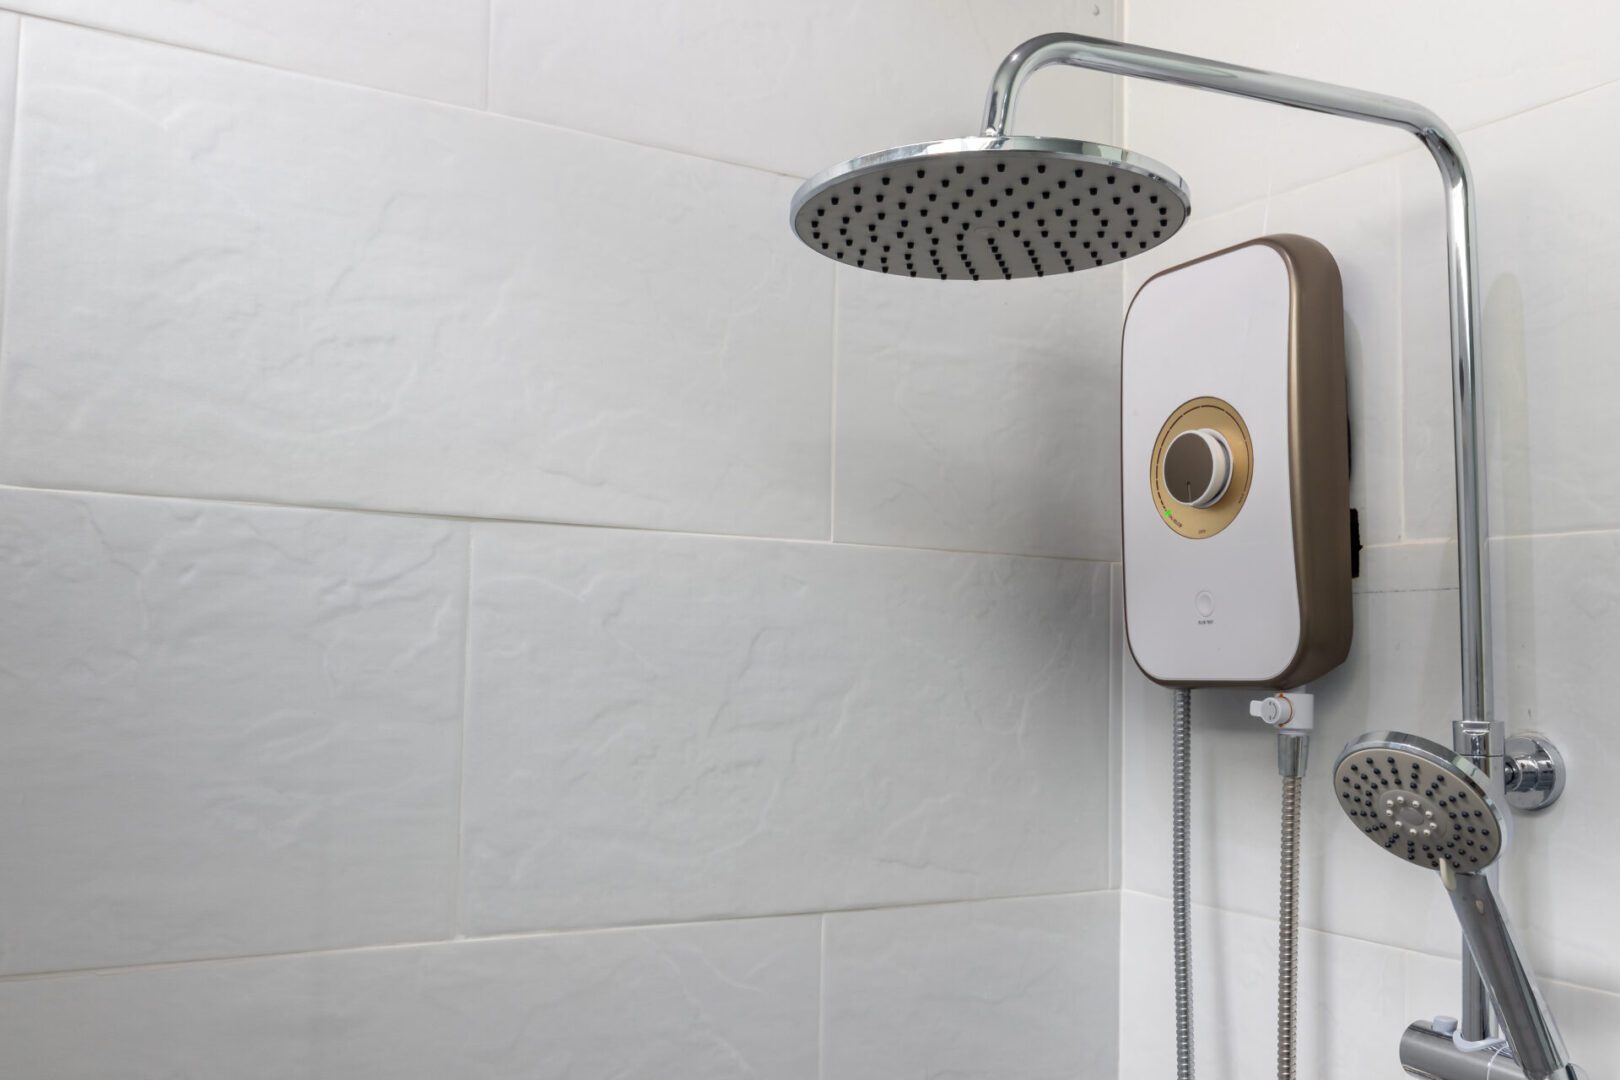
How to replace an electric shower will depend largely on the type and brand of shower you have. Some shower arrangements have different set-up requirements and the fittings used to put them together may...
View Article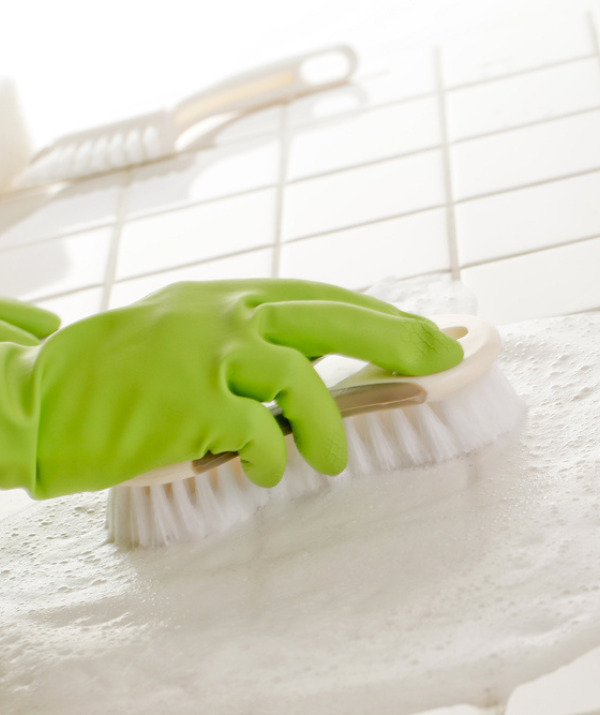
We all dream of our bathroom looking as fresh as the day we installed it. But over time, things happen, and your bathroom can collect dirt and grime that make it look less clean...
View Article